Crew procedure
Reading the coordinates
Every battle grid is a 5x5 board. Columns A-E run left to right, rows 1-5 run top to bottom, so the ship's starting tile is always C5. !target works off these labels directly, e.g. !target B3.
Pirate Adventures
Kraken, King Crab, Ghost Ship, Brigands Convoy, and Shallow Waters all play out on the same tactical Sea Battle Grid — coordinates, movement charges, and manual cannon fire instead of one-button voting. Below: the shared legend, a full phase-by-phase breakdown of every encounter, and where the ship's special charted routes lead.
Battle manual
Every battle grid encounter shares the same coordinates, the same anchor-exit idea, and the same station rules. Learn this once and it carries into every fight below.
Anchor Exit
Sail the ship onto this tile and the Captain/Navigator is asked !yes to retreat (no boss reward) or !no to keep fighting. Kraken, King Crab, and Ghost Ship only — Shallow Waters and Brigands have no exit tile.
Rock
A fixed obstacle. Blocks movement onto that tile.
Danger Telegraph
An attack is about to land here. Clear these tiles before the warning timer ends.
Ink Cloud
Kraken Phase 1 only. Hides the Kraken — shots aimed into the ink are unreliable.
Whirlpool
Kraken Phase 3 only. Rings the board while the Kraken is submerged.
Sandcastle Wall
King Crab Phase 1 only. Blocks movement and shields the King until all three walls fall.
Ice Patch
Ghost Ship hazard tile — sliding over ice carries the ship one extra tile in the same direction if the next tile is open.
Reef (Blocked)
Shallow Waters only. Impassable — steering into a reef holds the ship in place.
Sandbank
Shallow Waters only. Costs 2 movement charges to enter instead of 1.
Current
Shallow Waters only. Pushes the ship one extra tile in the marked direction unless a reef or blocker stops it.
Your Ship
Always starts a grid encounter at C5.
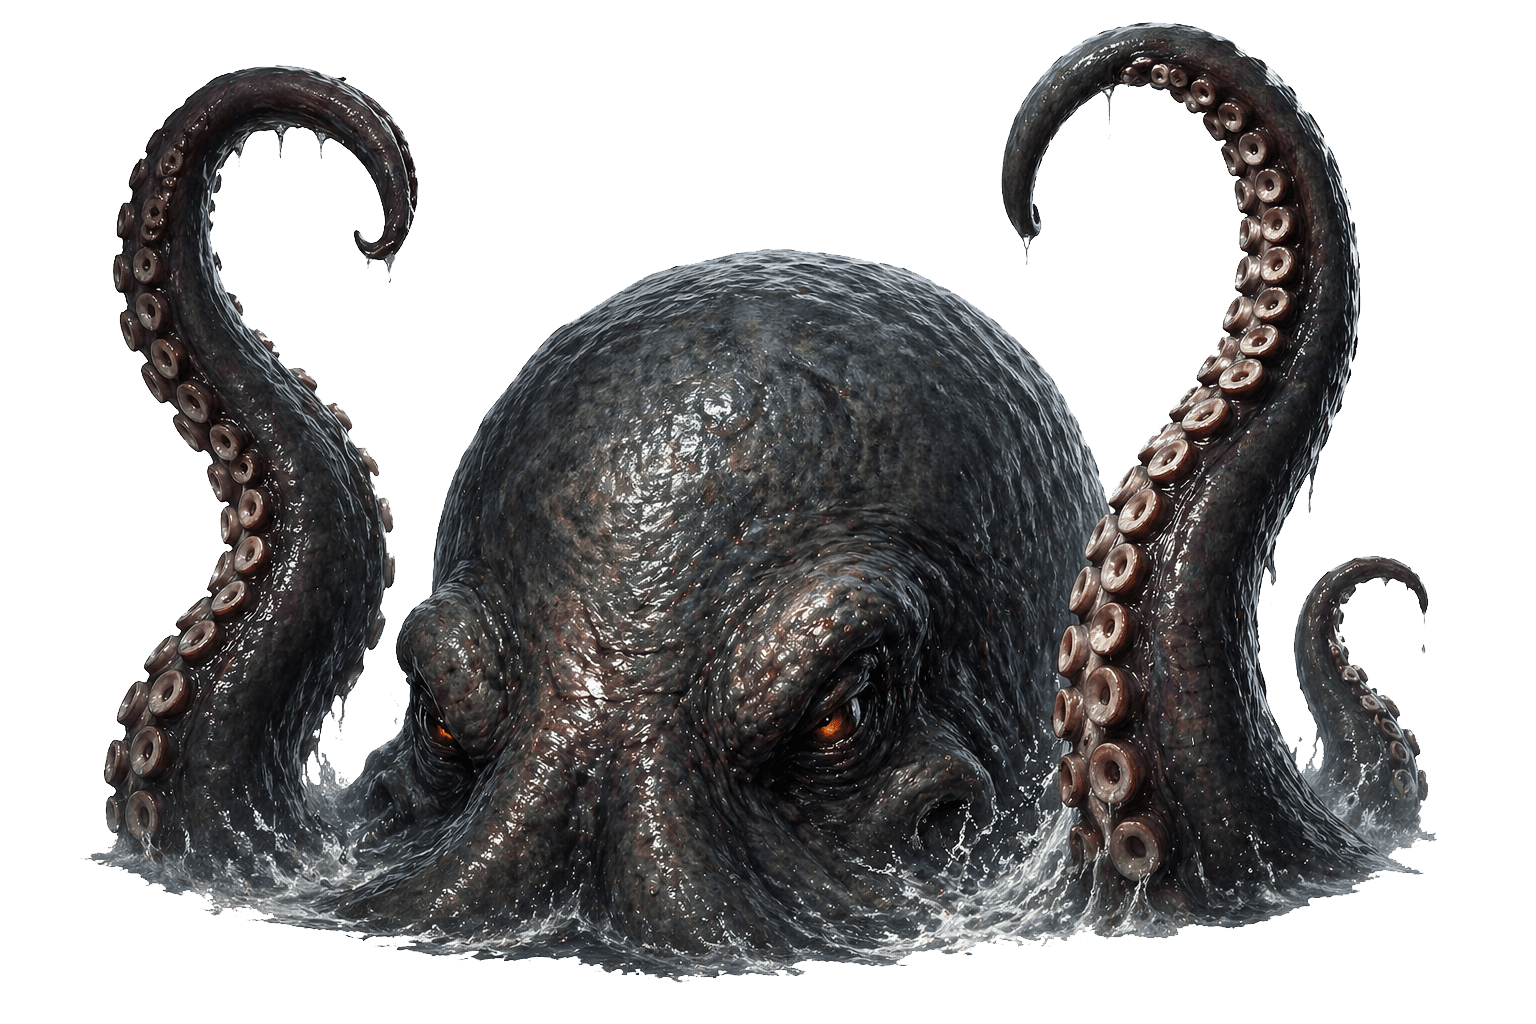
Kraken
Hidden in ink during Phase 1, fully exposed from Phase 2 on.
King Crab / Minion
Large icon for the King, smaller icon for his guard minions.
Ghost Ship Section
The cursed ship's bow, midship, and stern each occupy their own tile.
Brigand Escort
Must be sunk before the Merchant Galleon can be targeted.
Merchant Galleon
Carries the cargo locker — salvage it before it sinks for good.
Shark
Shallow Waters only. 100 HP, fightable while surfaced — !target then !shoot, same as any other grid target.
Mimic Chest
Ghost Ship Phase 3 only. Unrevealed — could be treasure or a ghost.
Target Marker
The tile last set with !target. !shoot fires here regardless of who pulls the trigger.
Crew procedure
Every battle grid is a 5x5 board. Columns A-E run left to right, rows 1-5 run top to bottom, so the ship's starting tile is always C5. !target works off these labels directly, e.g. !target B3.
Crew procedure
!sail assigns you to the sailing station. Station work resolves every 30 seconds; every 4 sailing contributions banks 1 movement charge. The Captain/Navigator spends charges with !up / !down / !left / !right.
Crew procedure
!target <coordinate> marks a tile for the Captain/Navigator; !shoot fires on it. Damage falls off hard with distance from the ship, so closing range matters as much as gunner skill.
Crew procedure
Kraken, King Crab, and Ghost Ship all have a single anchor tile (E5). Reaching it prompts the Captain/Navigator: !yes leaves the encounter immediately with no boss reward, !no keeps the ship in the fight. Treat it as an escape valve for a sinking run, not a shortcut to loot.
Crew procedure
Wrecks, Ghost Ship treasure mimics, and the Brigands cargo all use the same !salvage rhythm: start the 25-second timer while adjacent, then hold position — any movement command cancels it.
Sea encounters
Choose an encounter to study its access route, HP, phase rules, grid examples, and rewards.
HP / Targeting
1,000 HP (fixed)
Layout
Ship starts at C5, the Kraken starts hidden at C1, the exit is E5, and three rocks (B2, D2, B4) dot the board.
Encounter Brief
A 3-phase sea boss built around weak-point timing: stay close, bait the exposed strike windows, and survive the submerge cycle in Phase 3.
Phase 1
Phase 1 — Inkstorm
Opening phase
The Kraken hides inside a cloud of ink around its tile (C1, B1, D1, C2). It can't be cleanly targeted while inked — this phase is about closing distance and getting cannons within range for when it surfaces.
Phase 2
Phase 2 — Tentacle Barrage
Triggers at 500 damage taken (50%)
The Kraken surfaces fully and weak points start cycling in (glowing eye, wrapped tentacle, soft underflesh). Landing a hit while one is active adds a big damage bonus that stacks the longer the combo runs.
Phase 3
Phase 3 — Crushing Depths
Triggers at 750 damage taken (75%)
The Kraken alternates between submerged and surfaced. Submerged, whirlpools ring the board and cannon fire is nearly useless — shift the crew onto sail/carp/bilge and wait it out. Surfaced, it's exposed again and shooting resumes as normal.
Rewards
Victory pays the ship fund, restocks cannonballs and rum, and drops a Kraken Tentacle boss material for everyone who contributed, plus a chest — the Sunken Kraken Chest at the top tier.
Charted Routes
8 minutes of map/chest fishing with no cast cap and a 20-second !fish cooldown, then the ship returns to open sea.
A charted Treasure Island map lands the ship directly on the island — no reef or approach hazard to navigate first.
Leads straight into the Ghost Ship grid battle — see Ghost Ship under Sea Encounters below for the full fight.